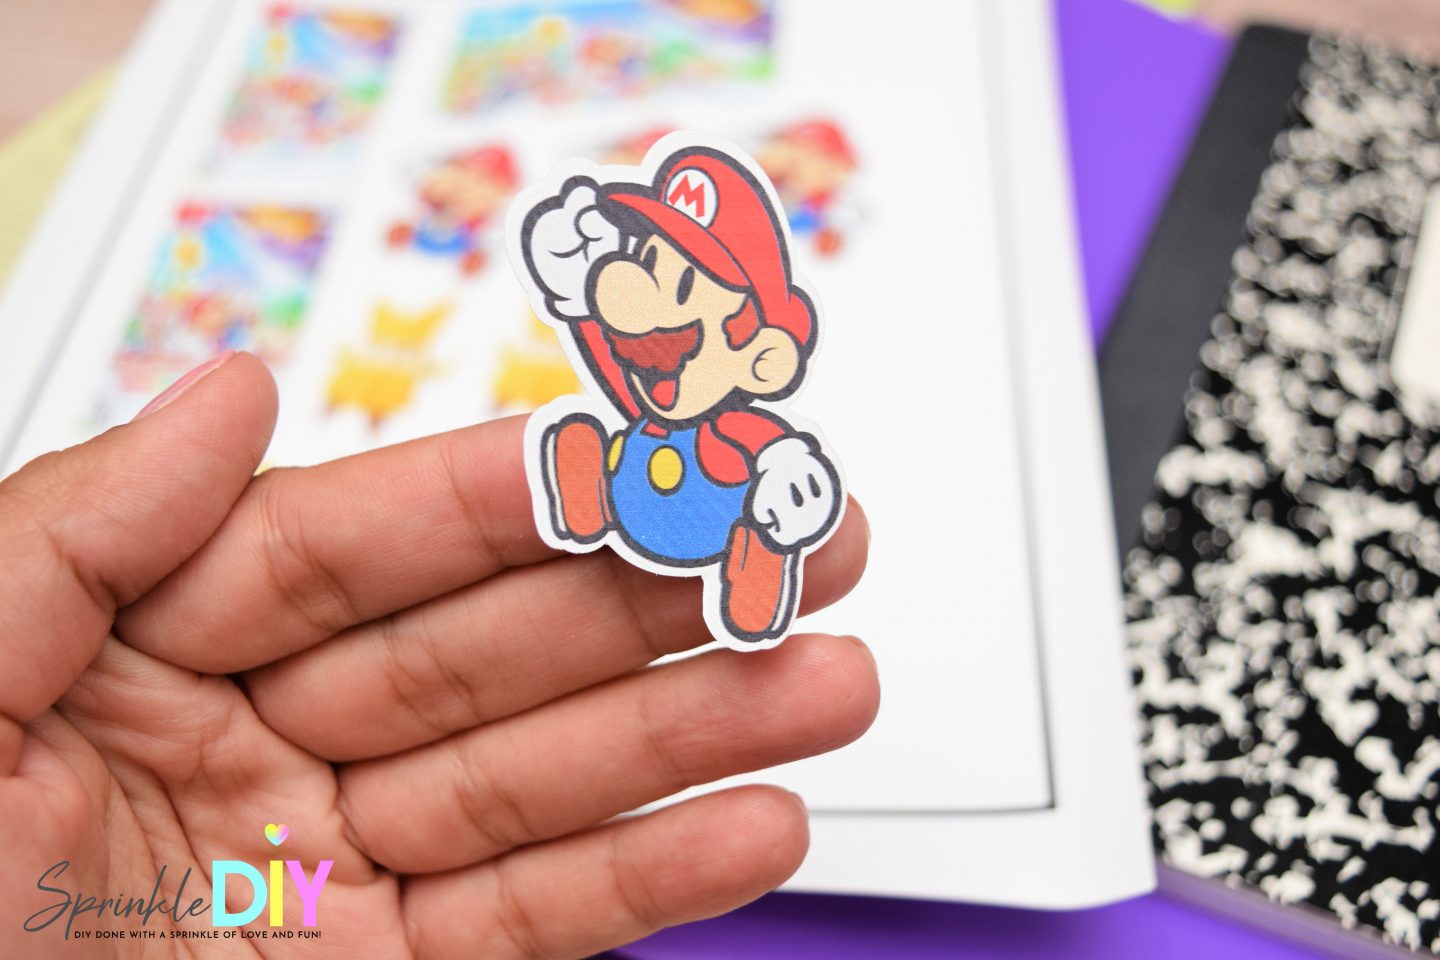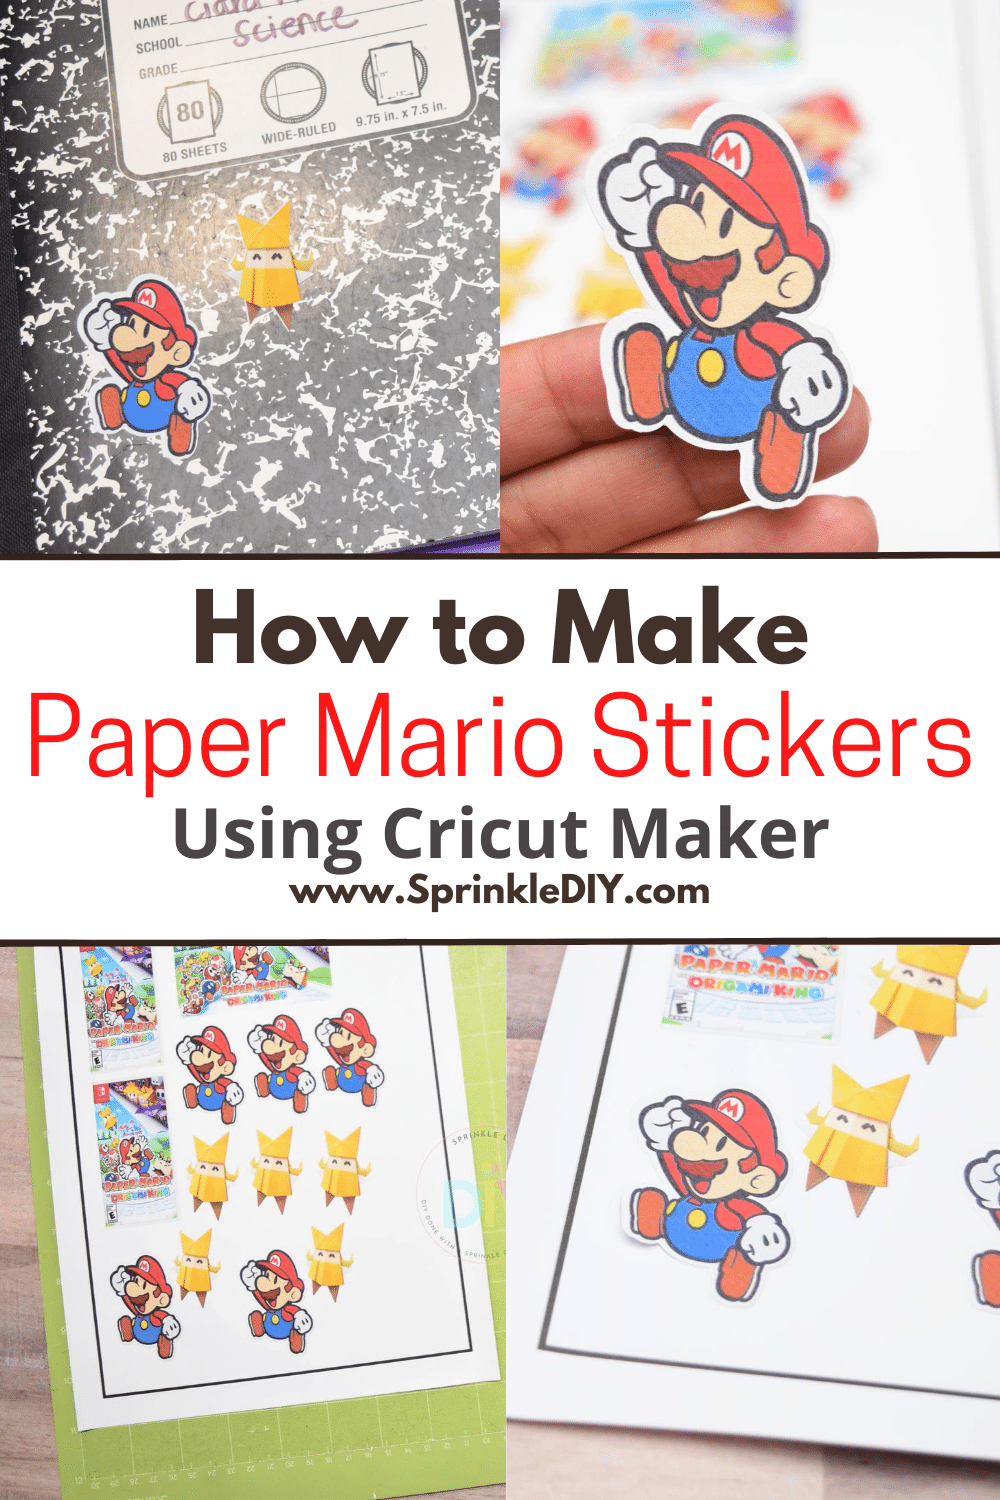
My family has been staying indoors a lot this summer because of the pandemic we’re facing. We’ve been keeping busy with video games a lot. The new Paper Mario: The Origami King came out a few weeks ago and we’ve enjoyed playing as a family. I knew I had to create some fun stickers for the kids to decorate their folders and notebooks. I used the Print and Cut feature on Cricut Design Space to create vinyl stickers that can be placed on a variety of things. I’ll show you the step by step guide on how to make Paper Mario stickers using the Cricut Maker.

About Paper Mario: The Origami King
Before, we get into the tutorial I wanted to share a little more about Paper Mario: The Origami King. The story starts off with Mario and Luigi heading to an origami festival but when they arrive they see no one around. They soon find out that King Olly has turned around into origami. You have a little companion, Olivia, who helps you on your missions. Master strategic, ring-based battles. Line up scattered enemies and plan your attack to maximize damage with the new, ring-based battle system that requires both puzzle-solving skills and a quick wit. You’ll love the witty, one-liners that will keep the entire family entertained. I loved the bright, colorful storyline. The game is definitely a must-have if you loved the previous Paper Mario games on N64 and Wii.
How to Make Paper Mario Stickers using the Cricut Maker
Materials Needed:

Directions:
Open Cricut Design Space, click new project. Click on Upload and select the image you want to print and cut or if you are using images from Cricut Design Space you can select the images you are using.

Click the shapes tool and select a square and click the lock icon. Change the size of the square to 6.75W x 9.25H, this will make it easier to utilize the maximum space allowed for print and cut projects. Add all your images into the rectangle shape. Once you are satisfied with the layout, select the black rectangle then delete it. Now select all the images and click flatten in the lower left-hand side.

Click “Make it”. Load the printable vinyl paper into your printer. I had to load mine with the logo facing up but that may vary for your printer so be sure to do a test run.

Once the images are printed, place the printable vinyl on your Cricut cutting mat. Load the Cricut cutting mat into your machine. Be sure to select the type of material you are cutting. Just search “Printable vinyl”. Send it to cut. The machine will read the lines and do a “kiss” cut.


That’s it! You have some adorable vinyl stickers you can put on so many surfaces. I added some to my daughter’s notebook and folders. You can add to water bottles, storage bins, and other places.

Do you have a favorite video game that you love? I am also obsessed with Splatoon and Animal Crossing. If you play send me an e-mail would love to connect!
Want more Cricut Projects?
- Free Animal Crossing tutorial and SVG file
- Cricut Maker Basics – What you need to know
- All About Cricut Infusible Ink
- Getting Started with the Cricut EasyPress 2
- New Cricut Maker Tools Plus 4 Projects
- 5 Projects using Cricut SportFlex Iron-on Vinyl
