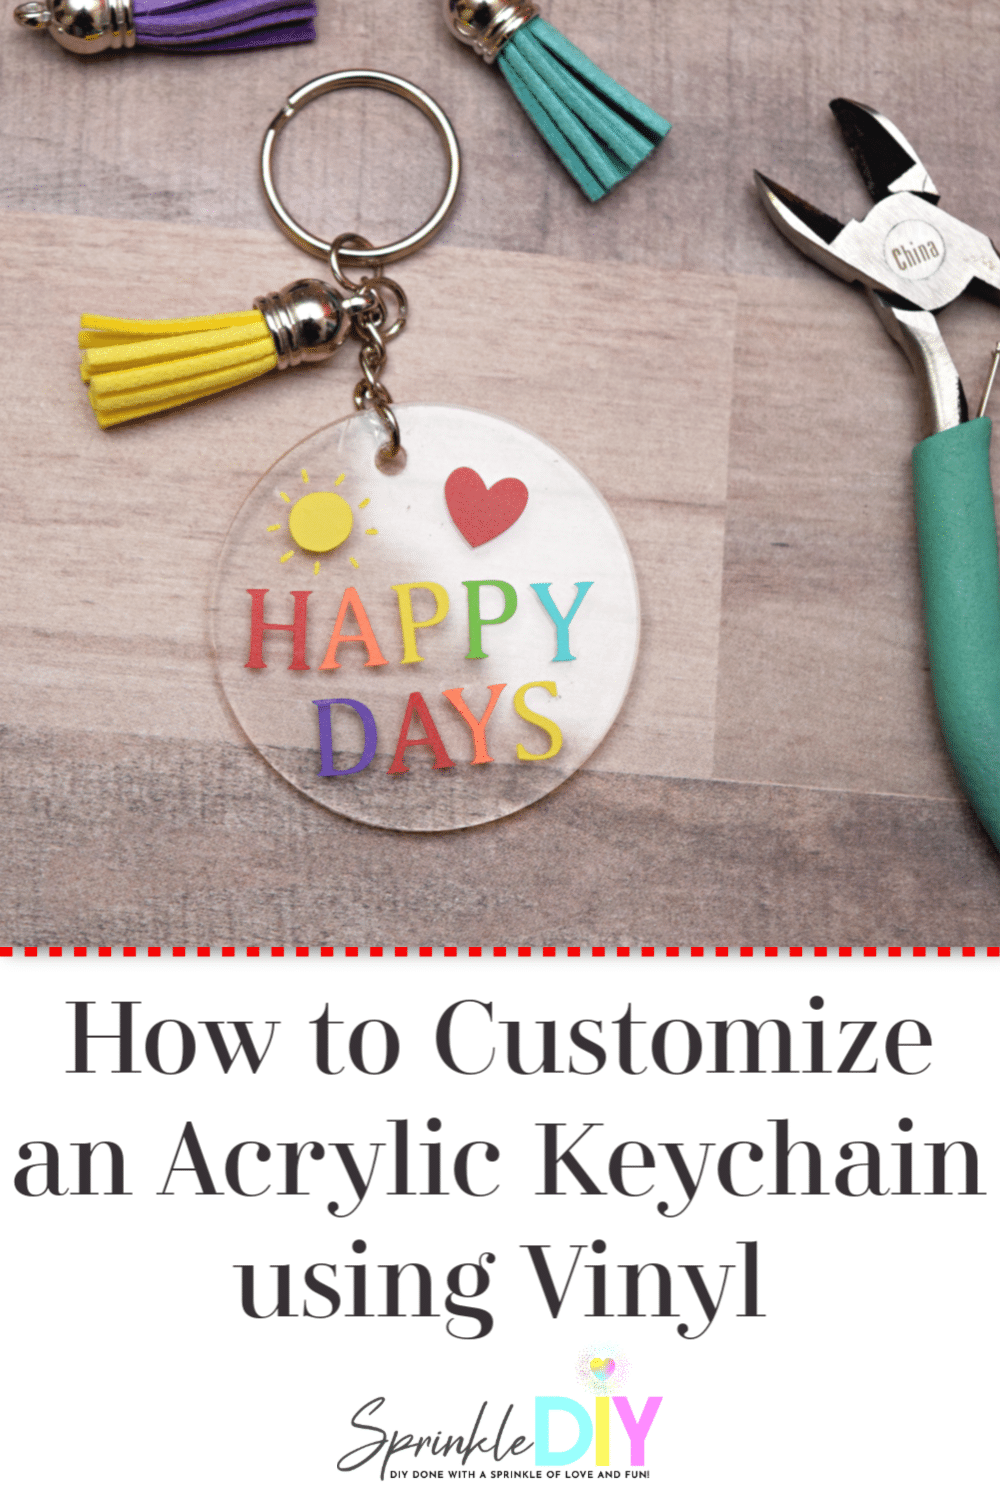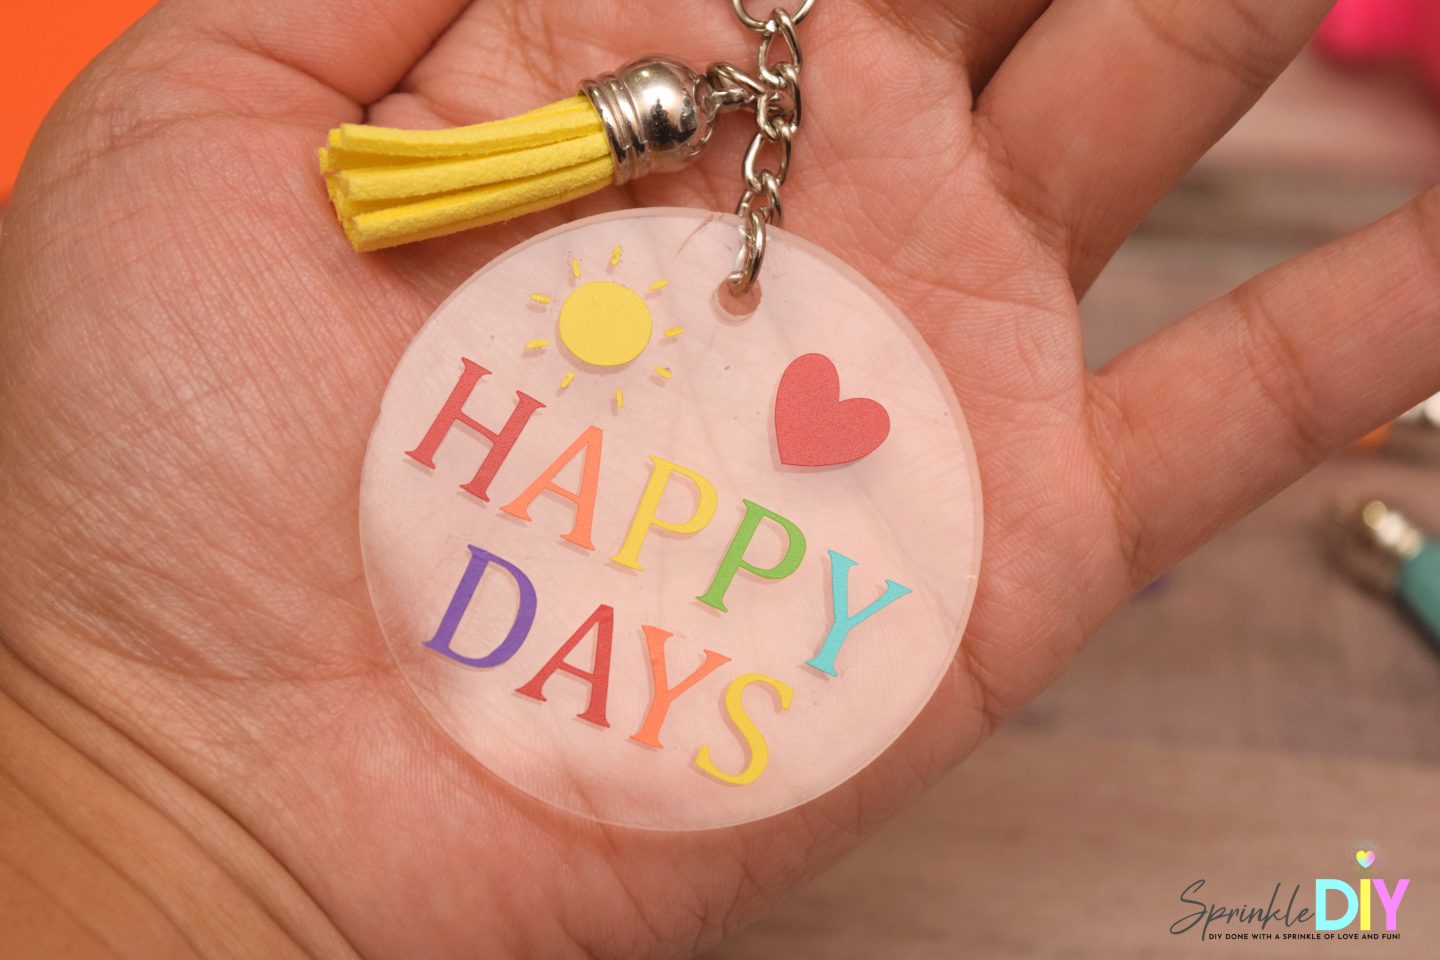
Acrylic Keychains are so versatile when you have a cutting machine like a Cricut Maker or Silhouette Cameo. You have the ability to use vinyl or an engraving tool to customize and/or personalize. I’m going to show you how to customize an acrylic keychain using vinyl. It is so easy, I promise! The possibilities are endless. You only need a few simple tools which I’ll link to below.
The blank acrylic keychains come in a variety of shapes, I’m using a 2-inch circle blank acrylic for this tutorial. These particular keychains are 3mm thick (which you would not be able to use to engrave with the Cricut Maker) which is great to adding vinyl but not engraving.
How to Customize an Acrylic Keychain using Vinyl
Supplies You Need:
- Cricut Maker/Explore/Joy or Silhouette Cameo
- 2-inch Acrylic Circle
- Permanent Vinyl (with colors you’ll be using)
- Transfer Tape
- Weeding tools
- Keychain ring with jump ring
- Jewelry repair tools
- Optional: Tassels

Directions:
Open Cricut Design Space, use the shapes tool to draw a circle that is 2-inches. Then, create another circle that is smaller. It should look like your acrylic blank. Once you have the smaller circle inside your 2-inch circle – select the smaller circle and big circle – then click “Slice”. This function creates the hole. You just need to drag the circle out. Delete the small circle. You should be left with a template that looks just like your acrylic blank.
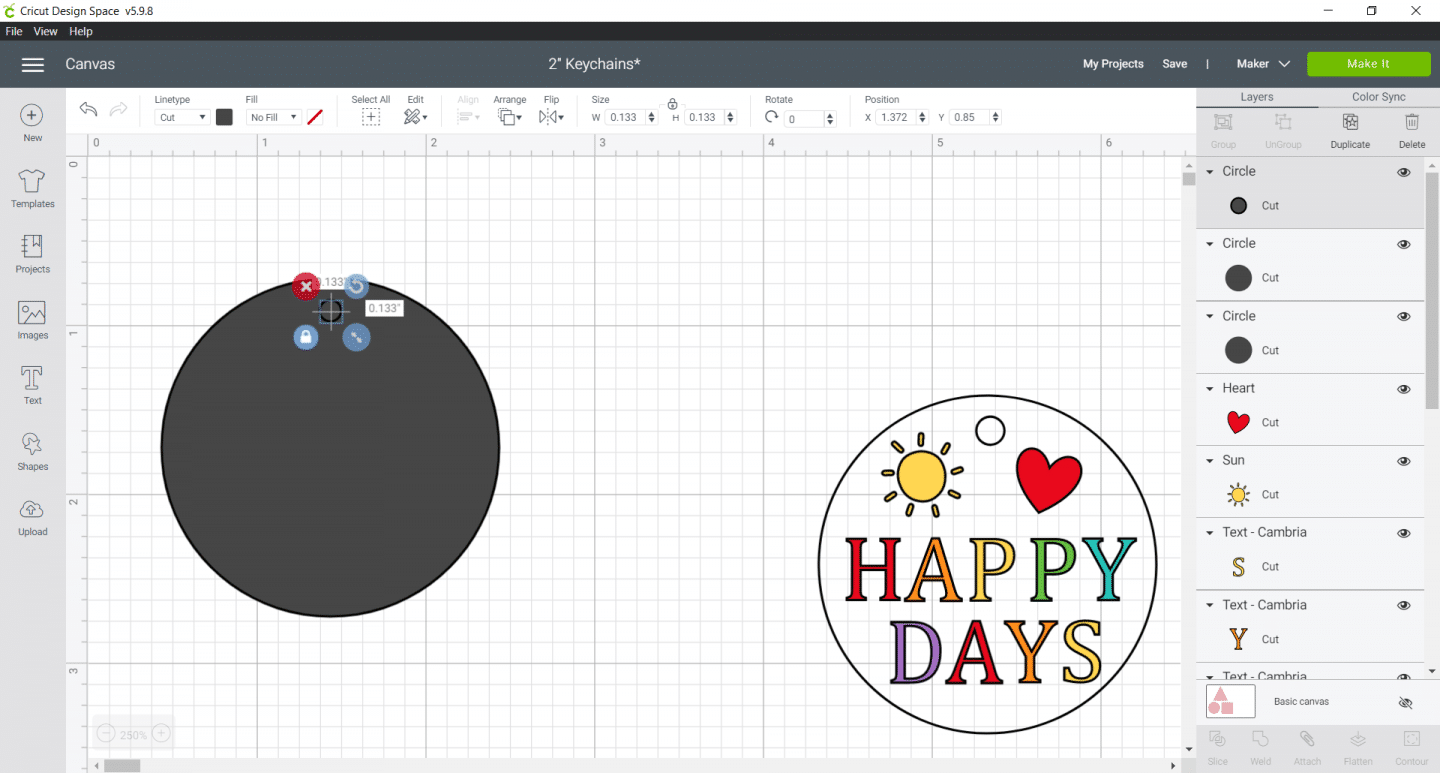
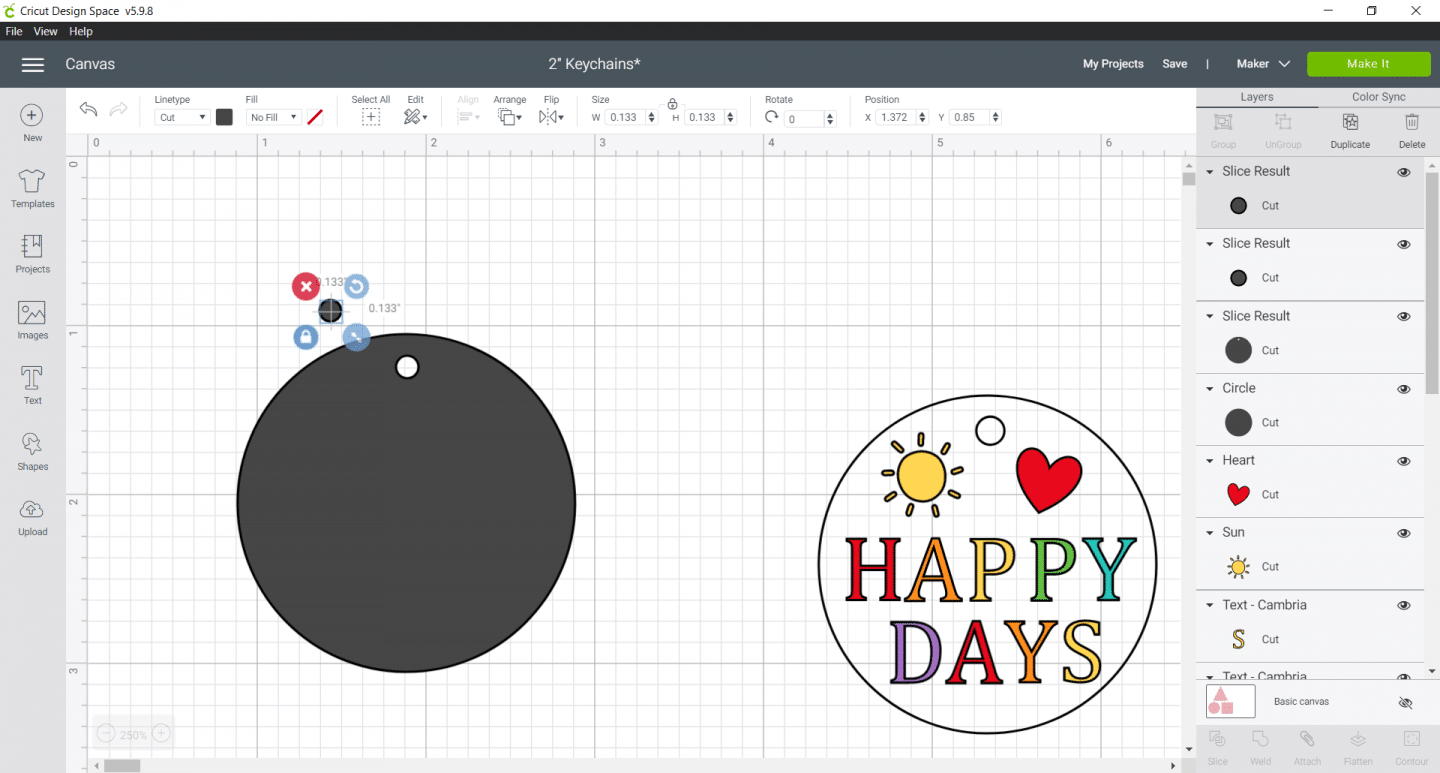
You can change the color from black to white or if you prefer a transparent just change it from “cut” to draw”. We are not going to actually cut or draw the circle it is just so we can align things.
Search Cricut Design Space for the sun. The sun I used for mine is #MBFB45B1. My sun measure 0.479″ x 0.5″. The heart was added with the shapes tool. The heart measure 0.391″ x 0.388″. Next use the Text tool to type Happy Days. I typed them separately. Then, you want to select “Happy” and ungroup. Only do this part if you are using different colors as I did. If you are using 1 color then you can leave as is. Click each letter and select the color you want to match the vinyl you will be using. Repeat the process for “Days”.
Time to Cut
Cricut will group things that are the same color to make it easier to cut.

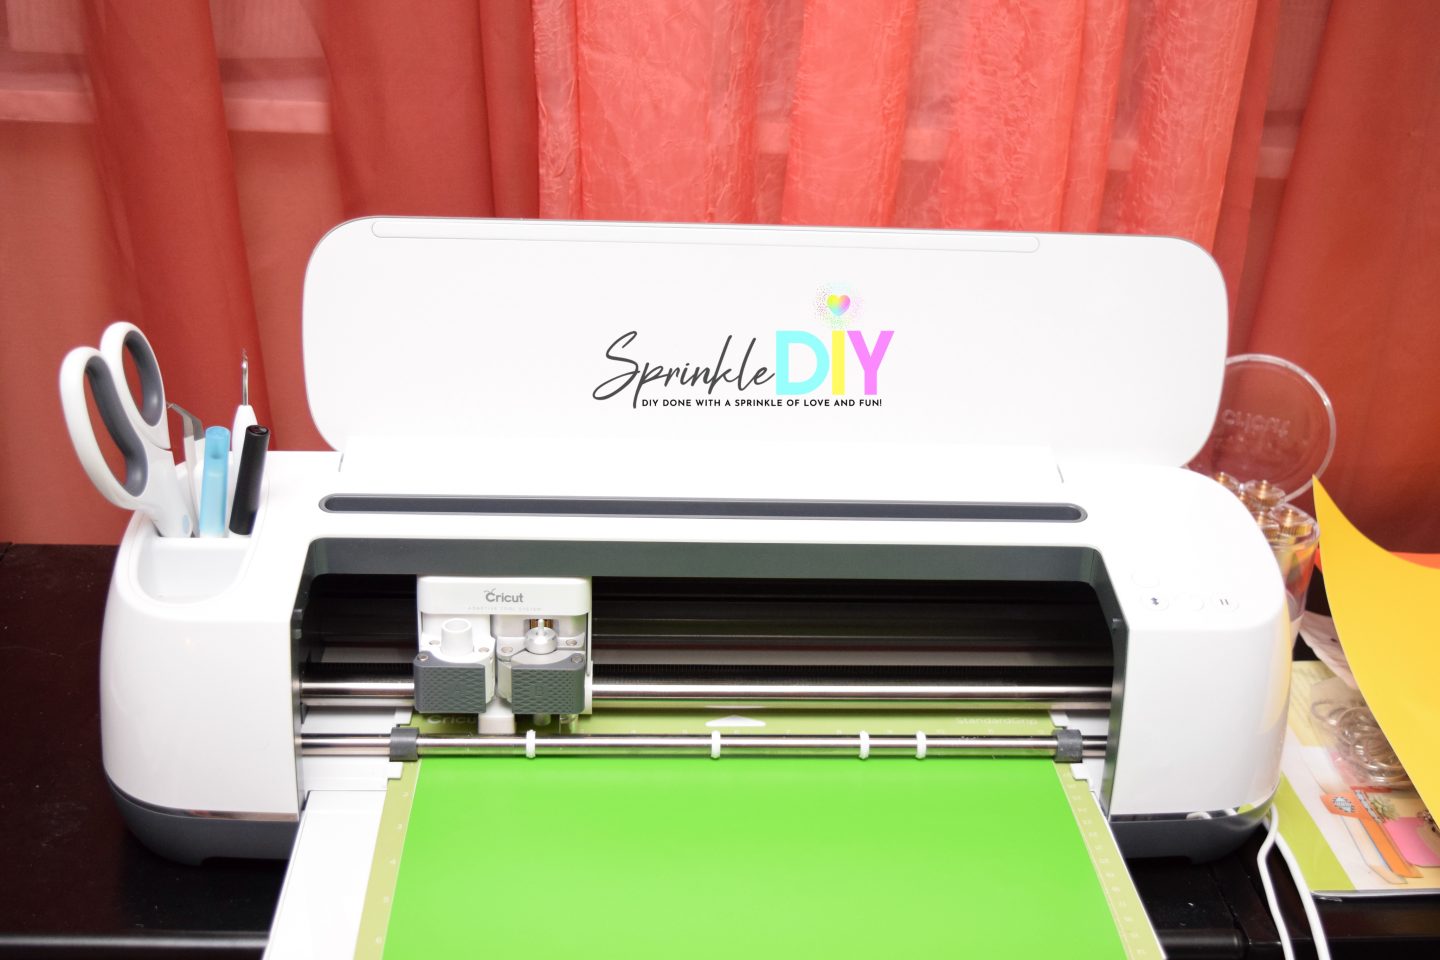
Click the “Make It” button on the top. The vinyl colors will be sorted. Select the material you will be cutting and load each mat into the Cricut machine. Repeat the process for each color.
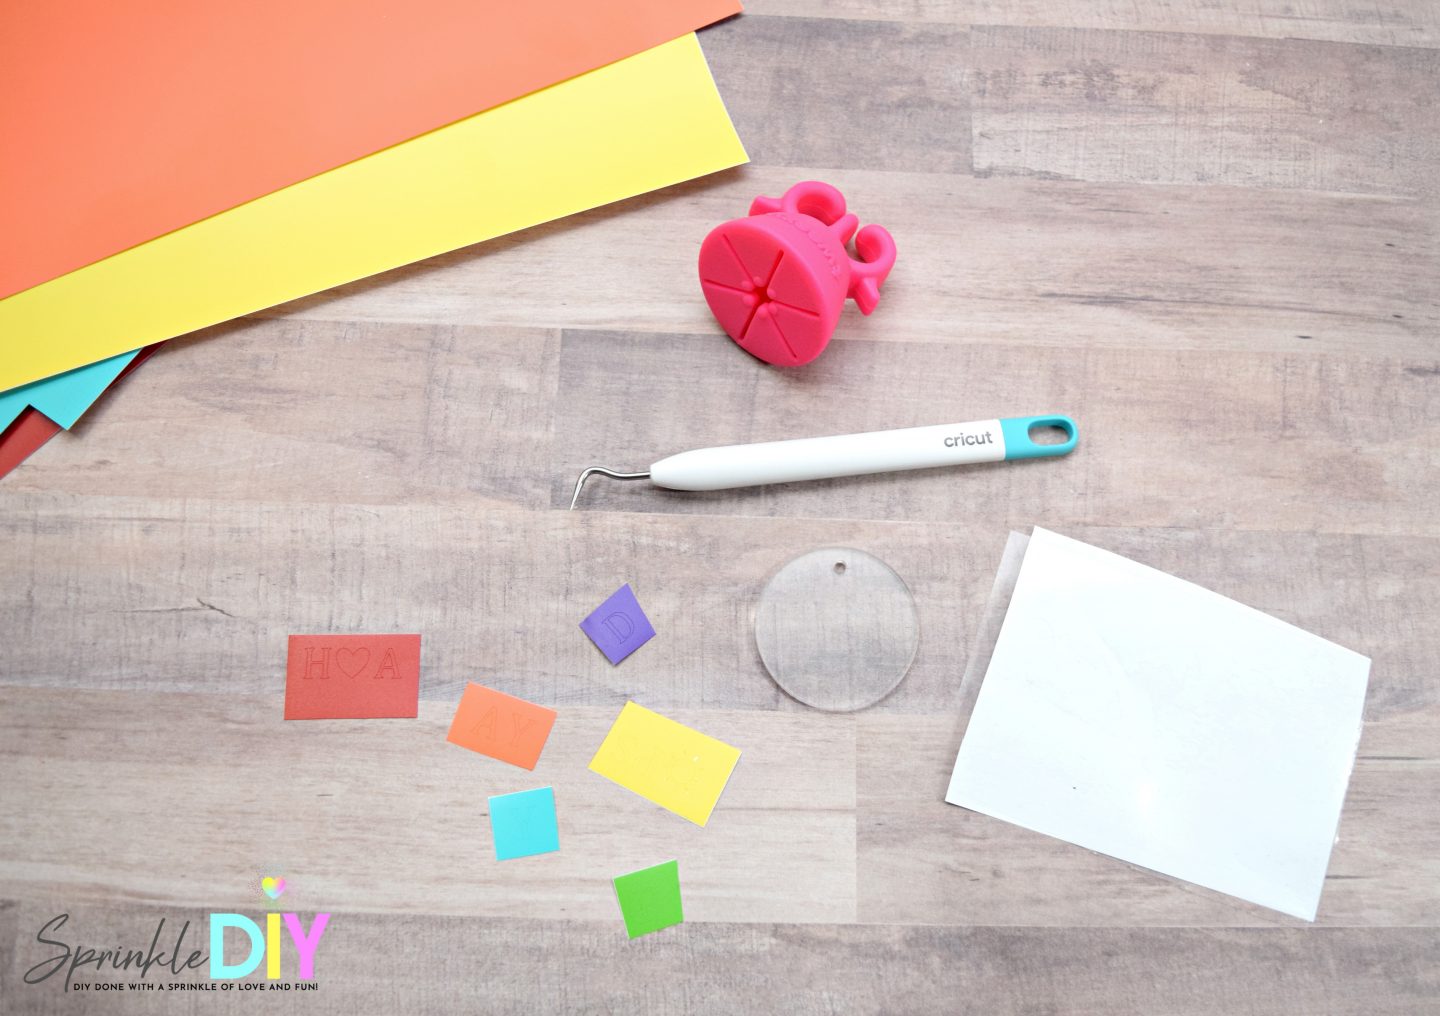
Use your weeding tools to remove the excess pieces. Use your transfer tape to carefully place each of the vinyl letter on your acrylic blank.


Use the jewelry tools to place the jump rings through the circular hole of the keychain. Next, attach the keychain ring to the jump ring. If you are adding the tassels you can add to one of the loops of the keychain ring using an additional jump ring.
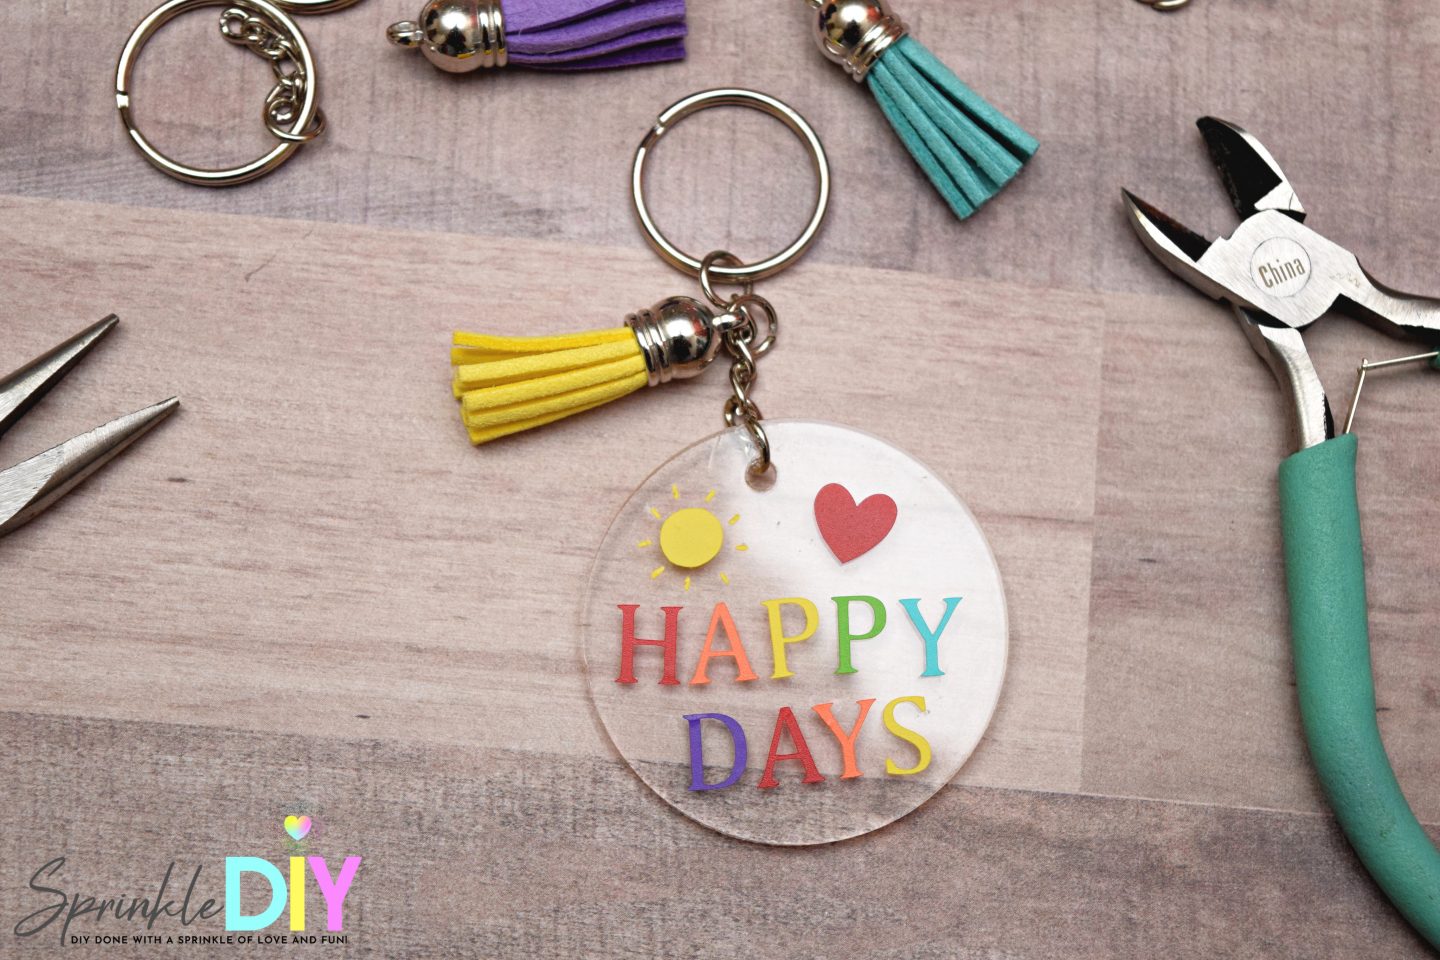
Project complete! Not too bad, right?
These acrylic keychains make great gifts for family and friends. It is inexpensive enough to create with vinyl. These DIY acrylic keychains are a great starter project to vinyl as well.
Want to learn more about Cricut?
- Cricut Maker Basics – What you need to know
- All About Cricut Infusible Ink
- Getting Started with the Cricut EasyPress 2
- New Cricut Maker Tools Plus 4 Projects
- 5 Projects using Cricut SportFlex Iron-on Vinyl
- Make a Mermaid Pillow in Cricut Design
- Monogrammed Unicorn Backpack
- Adult Halloween Shirt using Cricut Infusible Ink
- Can You Make Money with the Cricut?
- Mermaid Mini Tote using Cricut Maker
