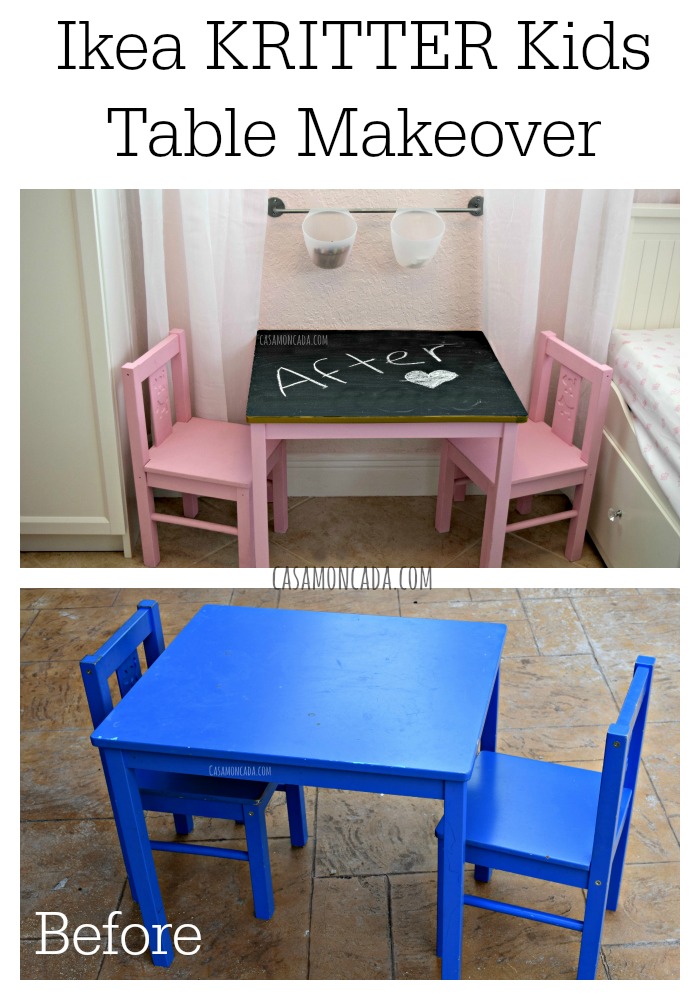
I’ve been working on my daughter’s room since we moved into our house in the end of February. It has been so exciting getting little projects done. It has taken me longer than I wanted to complete everything but I’m almost to the finish line! We had bought my son the Ikea Kritter table and chairs when he was younger but he has outgrown it. I didn’t want to put a blue table in my daughter’s room as it didn’t match the color scheme I wanted. I also didn’t want to throw it away. I decided to give it a little makeover! I received the HomeRight Finish Max Fine Finish Sprayer, which made my project so much easier!

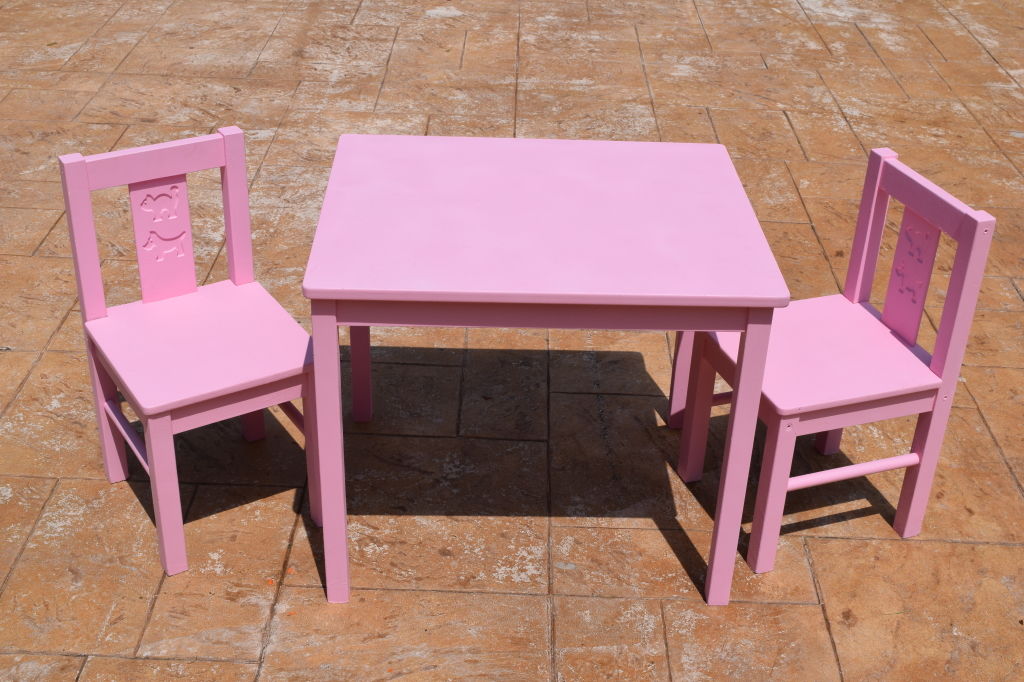
I cleaned the table and chairs first, then applied Zinsser primer. I’ve seen other people use Zinsser and have had great results. The KRITTER table and chairs has a smooth shiny finish so I knew I had to use a good primer. I was surprised to see how well the first coat looked. I did two coats just to be safe. I let it dry for a full 24 hours.

I grabbed my HomeRight Finish Max Fine Finish Sprayer filled it with the paint color I wanted and got to work. I’ve never used a paint sprayer before and I cannot believe how easy it was! The sprayer was so easy to operate, it used less paint, and provided even coverage.
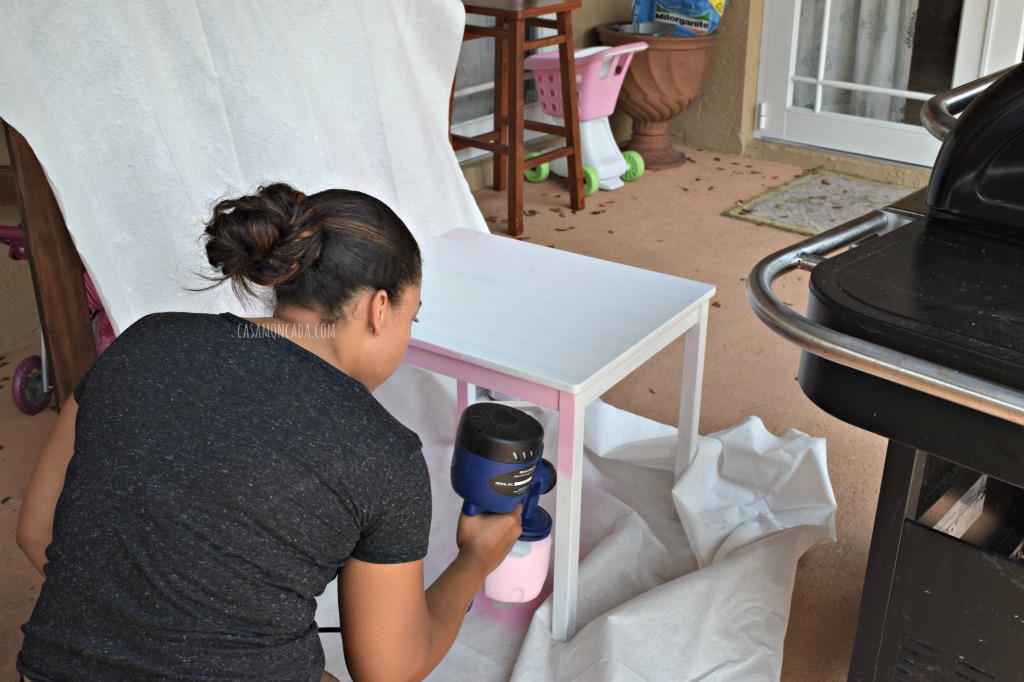
I think I finished the first coat in like 20 mins! Seriously, it was insanely fast and easy. I applied a second coat once it had enough time to dry.
I allowed the table and chairs to fully dry before I started on the next step. I wanted to add chalkboard on the top part of the table. My daughter loves playing with chalk so I knew she would love it!
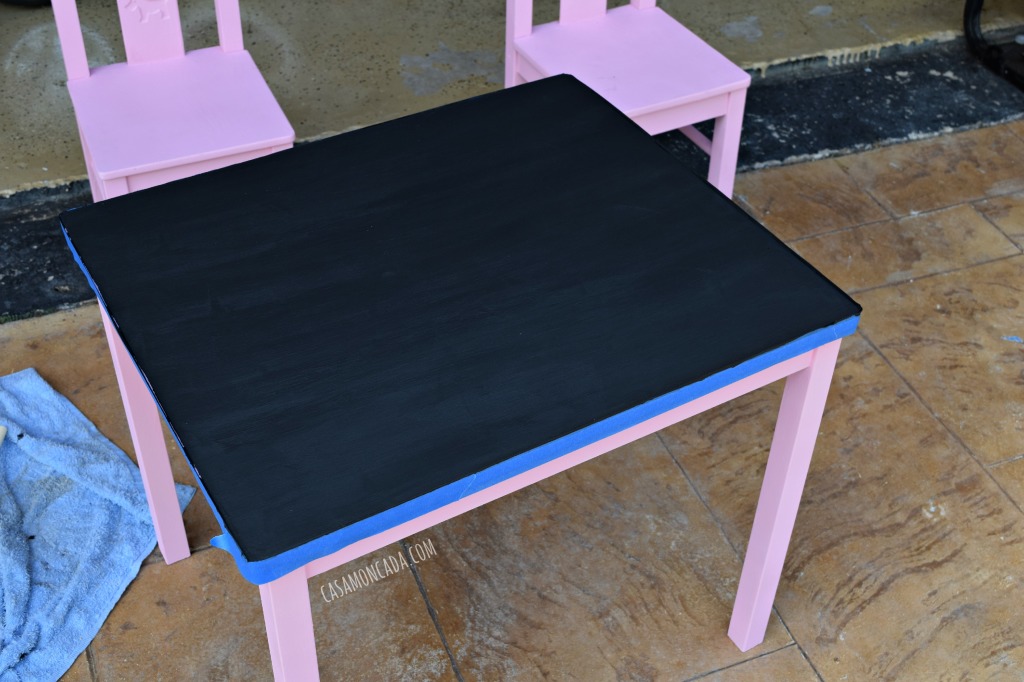
I had a can of chalkboard paint from a previous project so I taped the edges of the table and began the first coat. I used a foam brush and I did get a little worried since it was leaving uneven streaks but it worked out.

I did a total of three coats and let it dry for about two days. I wanted it to be 100% dried.

I conditioned the chalk paint by rubbing chalk all over it. The next day I wiped it off.
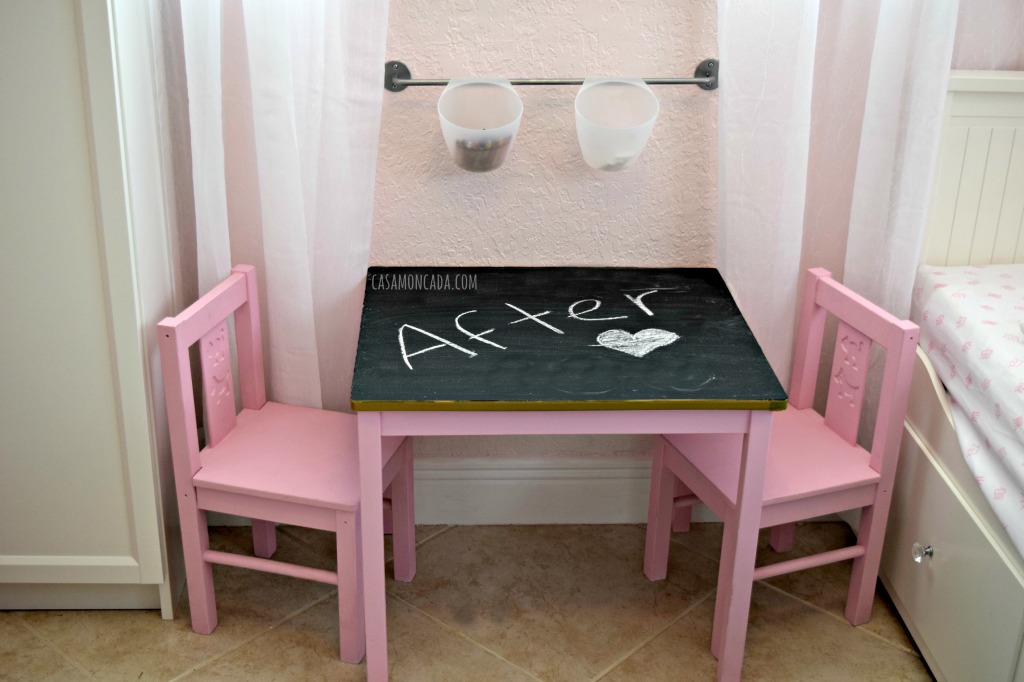
I was so happy with the results! I wanted to paint gold around the edges but decided to see how Washi tape would hold up. I think I will eventually just paint the gold on since the Washi tape will most likely loose his stickiness from chalk dust.
I screwed the Ikea Bygel rail and added two clear Bygel containers. Her room is on the smaller size so I have to use creative storage solutions. The containers hold her chalk and crayons. Her little creative area is complete!
I hope to share more of her room in the coming days! I just need to put up some artwork on one wall to complete her room makeover.
Disclosure: I received the HomeRight product in order to facilitate my review. All opinions stated here are my own.
I love the makeover. You really did a great job with it. Awesome way to make it unique 🙂
You did a super job on that! I love how you changed it for your daughter’s room 🙂 Putting the chalkboard paint on top was a great idea.
We have a white Kritter table and chairs – this is such a great idea since the poor table and chairs have taken a bit of a bashing over the past couple of years!
What a unique and great idea. I could see me doing this for my Grandkids. They would think I was the best grandma ever if I made them a chalkboard table.
That is so adorable and such an ingenious idea! I’ll definitely have to try sometime like this.
What a darling idea! and great job on the makeover. My kids would love this! Such a cleaver idea.
Clever! oops:)
That is so cute! I love that you made the table top into a chalk board.
I’ve been wanting to try a sprayer to paint with but was always a little intimidated. After seeing how amazing your table makeover turned out, I think I’ll go for it. Love the chalkboard top.
This is a super cool way to reuse old furniture 🙂 I’m sure she loves being able to draw on her very own chalk table!
That is awesome, what a great way to recycle to furniture! It looks super cute, kids would surely love it.
This is a great way to redo kids furniture. We have chalkboard painted walls in my kids room and they love it. You can have the chalkboard paint tinted too so you can use virtually any color!
Oh that’s cute! I would love to do that what an adorable set! Love the chalk top too, very creative!
Nice job on the makeover! It looks a lot better! I love that chalkboard paint! My daughter was going to try that in her room, but she chickened out!
Oh wow! What a difference and it is so cute! My daughter would love a table like this!
That is so cute! They are going to get so much use out of that. I absolutely love this idea!
I love ikea hacks and this one you did to the childrens desk/art table is super awesome too! Nicely done …and I’m loving that shade of pink.
This is such a smart idea. I am always looking for furniture for the girls room, and I don’t know why I didn’t think of buying something cheap and giving it a makeover. Thanks for the inspiration.
I just love projects like this and this one is such a clever idea. I love it. I think it also looks really good in the room.
Such a great idea. You make it look so simple. We actually have a black board on the wall the kids love it.
This is such a great idea. I have this same table but never painted it…it is still bare wood. I will have to use your tips and make the table cute. Thanks for sharing.
One of my goals this summer is to find a piece of furniture to re-purpose! Not sure where this adventure will take me, but thanks so much for the advice! You could do so much with chalkboard paint, like on the side of a dresser too!
Super cute idea. I love that the chalkboard top. I can picture tons of fun times ahead.
You do have great work here. It’s wonderful when someone has the talent to do a re-do. 🙂
That is so neat! I’ve always loved looking at DIY projects and seeing the “after” always excites me. Great idea there!
Amazing how paint can transform a thing into a new one. I like the pink but I love the blue more.
That is so cool and came out really nice. My son has the same exact table and chair set from Ikea.
I have a table just like this that needs an upgrade. This is an awesome idea for my toddler!
ong loving how this table turned out! Crazy how something simple from Ikea can turn into something fabulous with alittle imagination
I think you did a really great job on this! Love the color and the chalk board top is a great idea!
This is so cute and turned out amazing. I simply love the color. I have an old table that needs a revamp, I will try it
This is such a fab makeover! I am dying to go to Ikea and get a table and chairs for my son, when I do I’m going to make them over like this. Thank you for the inspo! 🙂
I’m intrigued by the sprayer. We do a lot of repainting and that looks like a huge time saver.