This is a sponsored conversation written by me on behalf of Cricut. The opinions and text are all mine.

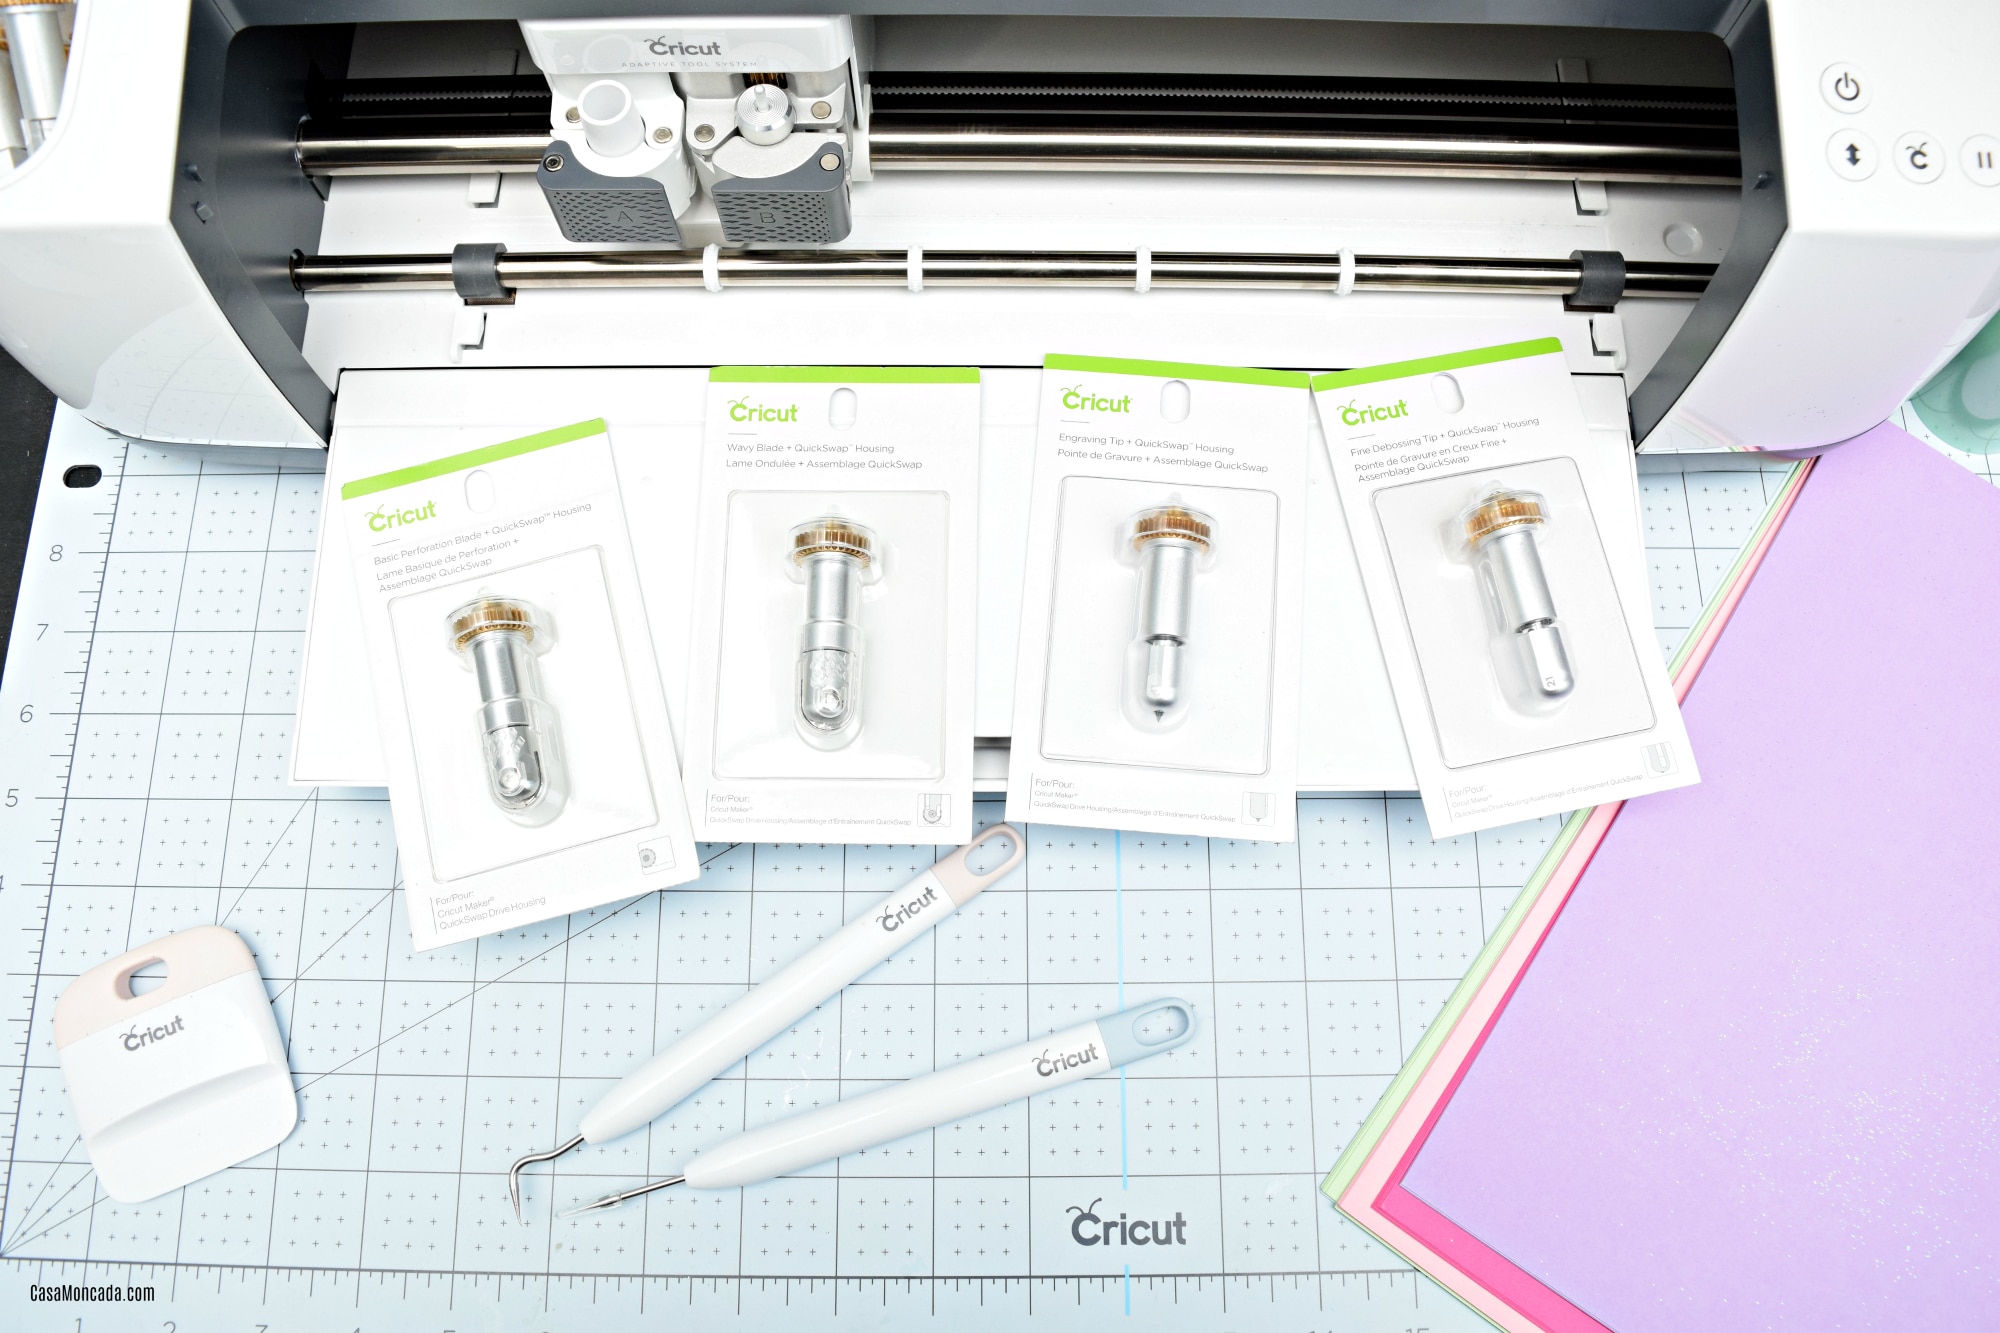
The Cricut Maker has changed the way I craft because of all the different materials and tools available. Cricut just recently announced 4 NEW Maker Tools – Engraving Tip, Fine Debossing Tip, Perforation Blade, and Wavy Blade. Each tool has a unique feature that can take your crafting up a notch! The Maker is such a versatile machine giving us crafters the option to work with so many different materials with ease. I love that these new tools can expand the number of materials I can use with my machine. The Maker’s QuickSwap suite makes it easy for us crafters to switch between tools.
Cricut Maker Tools
- Perforation Blade: Create perfect tear-offs and easy peel-always using paper, cardstock, acetate, poster board, and more.
- Wavy Blade: Fine Debossing Tip: Customize projects with crisp, detailed debossed designs – no folders necessary!
- Engraving Tip: Quickly create a fun wavy edge on a variety of popular materials.
- Fine Debossing Tip: Customize projects with crisp, detailed debossed designs – no folders necessary!
Let’s get started with some projects!
The images used for these projects are part of Cricut Access. Cricut Access is definitely a must-have for all your crafting needs – so many options!
Ice Cream Surprise Card using Cricut Perforation Blade

This project used the Perforation blade, cutting blade, and the blacktip marker. If you want to create your own Ice Cream Surprise Card, here is what you’ll need:
- Cricut Maker
- Cricut Tools Perforation Blade
- Cricut Cutting Blade
- Cricut Black Tip marker, 0.4
- Cricut LightGrip
- Cricut Design Studio image file #MA8241E4
- Cardstock (in your choice of colors)
- Sticky tape

Detach the image so that you are left with just the pieces shown above. Use the Linetype to select the image you want the perforation to apply to. I then layered the perforation image on top of the ice cream piece. You want to cut two of the same so that you have the same image underneath.

You also need to type out whatever text you want on the cardstock going under the perforation. Be sure to set the text to draw. I did a combination of font styles to give it some definition. When you send to cut the machine will tell you exactly what tools you need for each piece – seriously, love that! No need to figure out what cutting tool you need! Assemble the ice cream cone card carefully then enjoy your masterpiece!
Mermaid Wall Art using Cricut Wavy Blade

I was so excited to try the Cricut Maker Tool Wavy Blade. The Wavy Blade gives the perfect amount of wavy goodness to all your projects. The project I created with the Maker Tools Wavy Blade was a Mermaid Wall Art for my daughter’s room. I used a combination of cardstock and felt to complete the mermaid. My daughter picked the colors she wanted – red hair like Ariel from The Little Mermaid was a requirement! Speaking of hair, can you see how beautiful the hair looks? The Wavy Blade cut the felt with ease! I love that it gives the mermaid a curl pattern which is what my daughter requested.
For this project you’ll need:
- Cricut Maker
- Cricut Tools Wavy Blade
- Cricut Cutting Blade
- Cricut LightGrip and StandardGrip mat
- Cricut Design Studio image file #M3A7F7
- Cardstock (in your choice of colors)
- A piece of wood, optional
- Sticky tape
When the image is loaded to the mat, size it to what you want then ungroup to eliminate some of the layers you don’t need. I love that Cricut make it easy to cut by colors. You can see below that I placed everything on the mat based on the colors I was going to use. It just makes it easier for my visualize.

I set the hairpiece to “wave” under the linetype. The wavy blade gave the hair some dimension that my daughter and I really loved. The wavy blade is such a great tool for hair, I think. It gives it an almost curly hair pattern.

The wavy blade is so versatile because you can cut so many different materials. It had no issues cutting the felt for the hair. The StandardGrip mat was perfect – no shifting at all! Assemble the mermaid and attach to a card, piece of wood, or even canvas! Any little girl would love this!
Homemade Card using Fine Debossing Tip

The Cricut Maker Tool Fine Debossing Tip is one of my favorite tools! You can use it on so many different materials – I used it on a Rose Gold shiny cardstock. The debossing came out so pretty! I really didn’t need to add anything extra to the card as it was pretty as is. I cannot wait to make more cards for friends and family. Here is what you need to make your own homemade cards:
- Cricut Maker
- Cricut Tools Fine Debossing Tip
- Cricut Cutting Blade
- Cricut LightGrip mat
- Cricut Design Studio image file #MB5347BD
- Cricut pen
- Cardstock (in your choice of colors)
- Sticky tape
Start by opening the Cricut Design Studio image file. Select the entire image and change the linetype to “Deboss”. It will transform the image to a deboss look. Next, select a rectangle from the shapes area and size it 8.5 x 5.5 inches. This is the card base. Create another smaller rectangle to fit the text, “Bee yourself… because you’re awesome!”. Use the text tool to write the text. Change the text to your desired font. The text will also need to be changed to “draw” from the linetype area.

Click “Make it” and arrange the card stock on your mat. Follow the prompts to change the material and tools. Cricut makes it so easy to switch out the different tools you need for your project.

Assemble the card using adhesive tape or glue. That is it – you’re done! A super easy card that can be done quickly for those unexpected birthdays.
Acrylic Sign using Cricut Maker Tools Engraving Tip

Acrylic Frame using the Cricut Engraving Tip
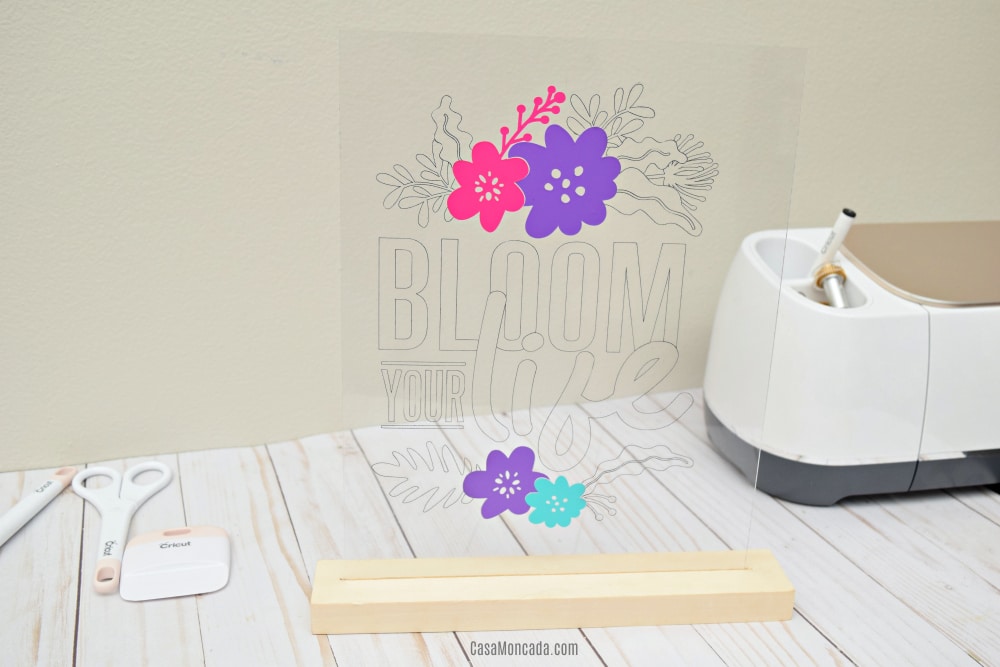
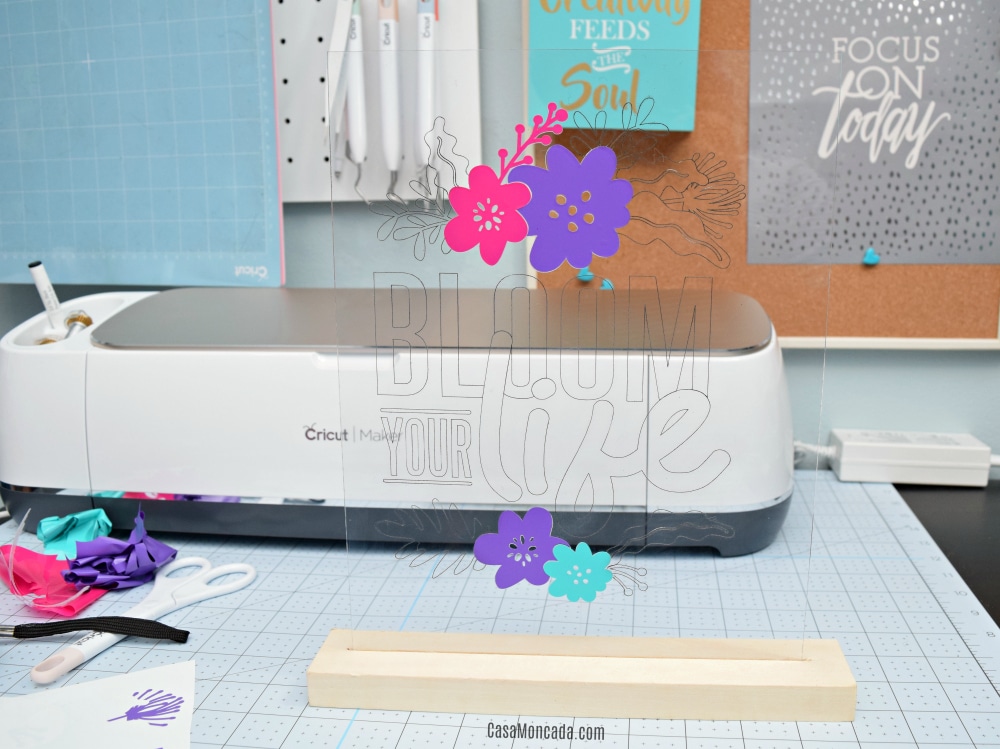
The engraving tip is so fun to use! I love that I can create different designs with acrylic! I can just see these beauties as centerpieces in parties and weddings. The acrylic frame uses a combination of vinyl and engraving. I used dry erase markers to really show the design through the acrylic. The pops of color from the vinyl really makes it stand out! You can put as little or as much vinyl as you’d like.
Materials needed to make Acrylic Frame using the Cricut Engraving Tip:
- Cricut Maker
- Cricut Tools Engraving Tip
- Cricut Cutting Blade
- Cricut StrongGrip and LightGrip mat
- Cricut Design Studio image file #MB960118
- Cricut Vinyl
- Clear Acrylic Sheet
- Masking type
- Transfer sheets
Open the image file – select it and change the linetype to “engrave”. It will transform the entire image. Size the image so it fits the Acrylic sheet you are using. Place the Acrylic on the StrongGrip Mat and also secure it with masking or painters tape along the edges. We want the acrylic to be really secure and not shift while it is engraving.


Once the Maker is done engraving, clean the particles that appear during the engraving process. Load the vinyl so it could be cut, once done weed the vinyl. Next use a dry erase tool and go over the engraving. Use a cloth to wipe the excess.

Use the transfer vinyl to place the vinyl in each area you want. I added it to the flowers in the center but you are more than welcome to place the vinyl in other places or don’t place any vinyl at all. Totally up to you!

I love, love the way it turned out! I cannot wait to make more of these adorable signs. How great would it be to have a sign for each season or holiday? It is totally easy to do that now the Cricut Maker Tools Engraving Tip. It will definitely change the way you craft!
All of these new tools are part of the expanding Cricut Adaptive Toolset. These tools will take your Cricut Maker to the next level! So many options, so many possibilities thanks to the Cricut Maker. What will you make with your Cricut tools?
What Cricut Maker Tool is your favorite?
Want to see more projects using Cricut?

