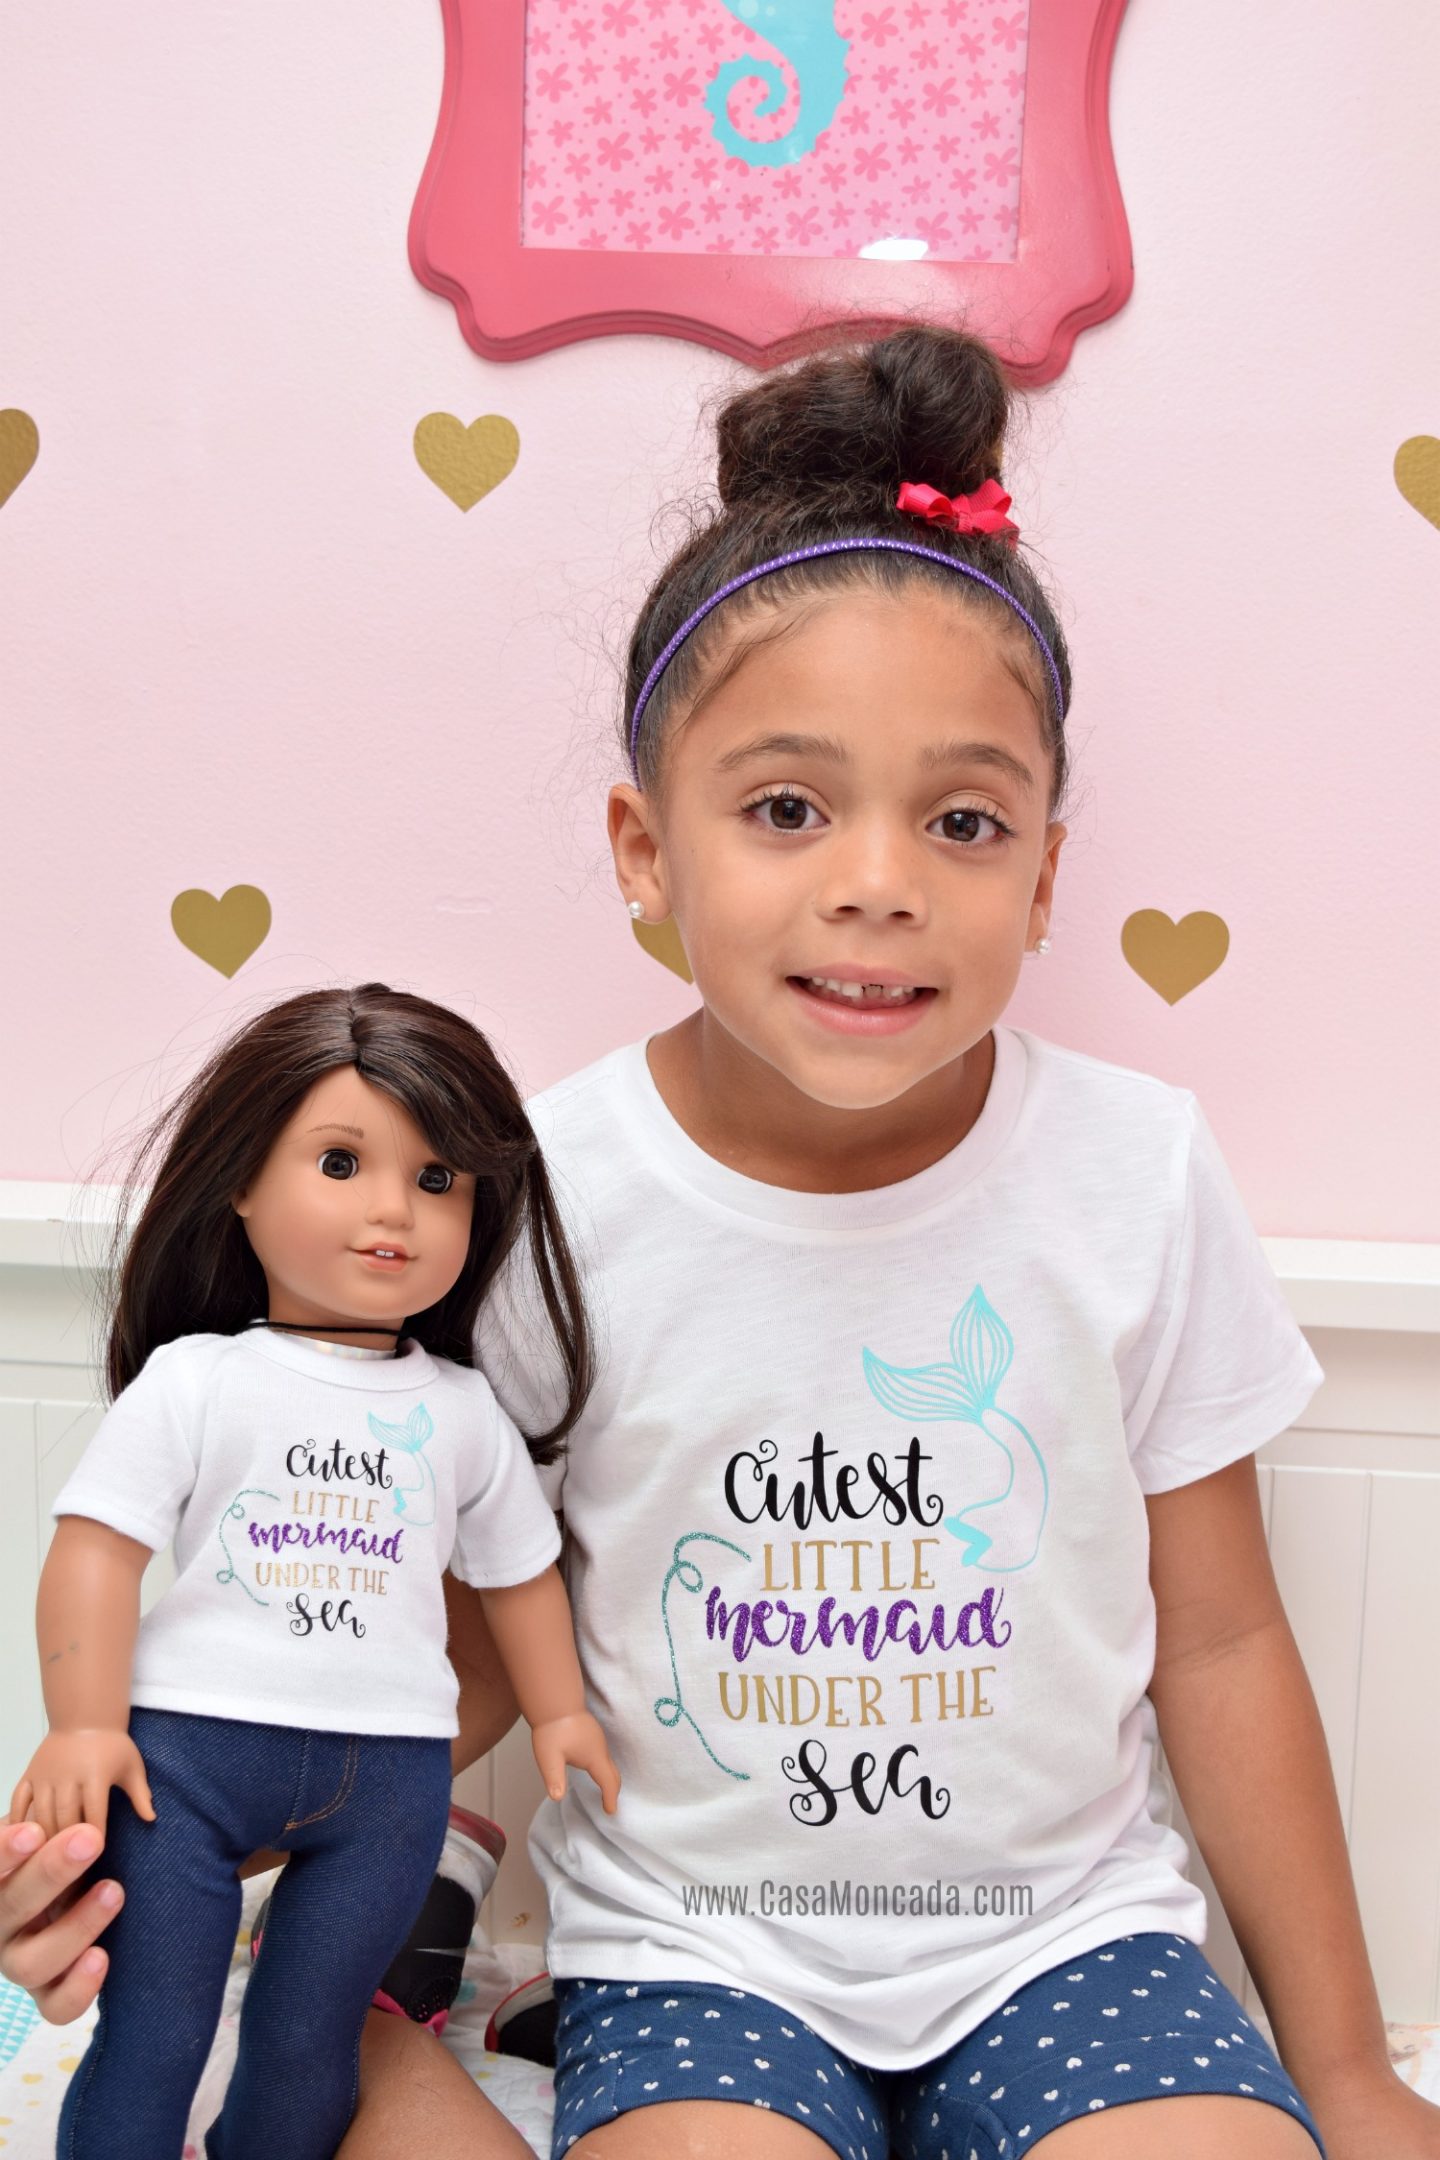
Make a doll and child matching shirt using the Silhouette Cameo. The doll shirts will fit any 18-inch doll!

Creating a personalized shirt for your child and her doll is a fun way to get creative! Get your daughter involved in the design process by letting her pick her favorite image or saying. There are so many places that have free or low-cost SVG files for you to use. I’ll share some of my favorite places to get SVG cutting files for your Silhouette (or Cricut).
Post contains affiliate links. It just means I make a small commission if you make a purchase through any of my links. There is no additional cost for you.

We’re lovers of mermaids in this household so I knew my daughter would pick a mermaid design. She picked a cute saying with a mermaid tail on it. The file is no longer available but there are similar ones in the Silhouette store, Etsy, and other websites.
DIY Doll and Child Matching Shirts
Materials:
- Child’s white t-shirt
- Doll white t-shirt
- Heat transfer vinyl (iron-on vinyl)
- Desired design
- Silhouette Cameo
- Cricut EasyPress (Iron or Heat press)
Directions on making your own doll and child matching shirts:
1.Open Silhouette Design Studio and load your desired design. Depending on what your design is, you want to “ungroup” (click object – ungroup) the image and copy the elements with the same color on another blank mat. This will make it easier to cut your vinyl together.


2. Mirror your images – this is very important! Now you can place your vinyl accordingly on the mat to cut everything at once or you can just load it color by color.

3. Open a blank screen in Silhouette Cameo and copy the design that is mirrored. Be sure to size it to the correct size for the doll tee. You can also arrange the design for the doll tee within the original kid size screen. Makes it easier to cut everything at one time. Totally up to you!

4. Be sure to change the settings on the cutting material to Heat transfer vinyl – smooth or whatever other types you are using. I had a combination of smooth and glitter.

5. Once the designs are cut, arrange the cut vinyl on the kid-size shirt. Heat up your Cricut EasyPress (or iron) to the recommended heat based on the material of the shirt you have. I did mine at 350 degrees for 30 seconds. Next, arrange the design on the doll t-shirt and iron it.

6. Peel off the clear backing and admire your work!

The matching doll and girl shirt will be a hit! My daughter does not want to take her shirt off. She puts the shirt on her 18″ American Girl doll. The shirt would fit any 18″ doll. My daughter has also been able to put it on her American Girl Bitty Baby.

The shirts can definitely be personalized with their names or any other design you wish! There are so many design websites that offer free or paid designs. I typically like to buy designs that offer commercial-use rights.
- Etsy
- Creative Market
- LOVESVG (LOVE their SVG files! They offer FREE and Commercial-Use files)
- TheHungryJPEG
All of these websites have adorable cutting files for any of your projects. Easter is right around the corner! The perfect time to make some cute shirts for your kids.
Do you use your Silhouette Cameo to make shirts?

How cute!! And how cute are those designs! Love it!
Thanks for a great idea. My daughter has this favorite doll as well. And the doll has a specific design too. Well, I am stealing the idea 🙂
Thank you 🙂