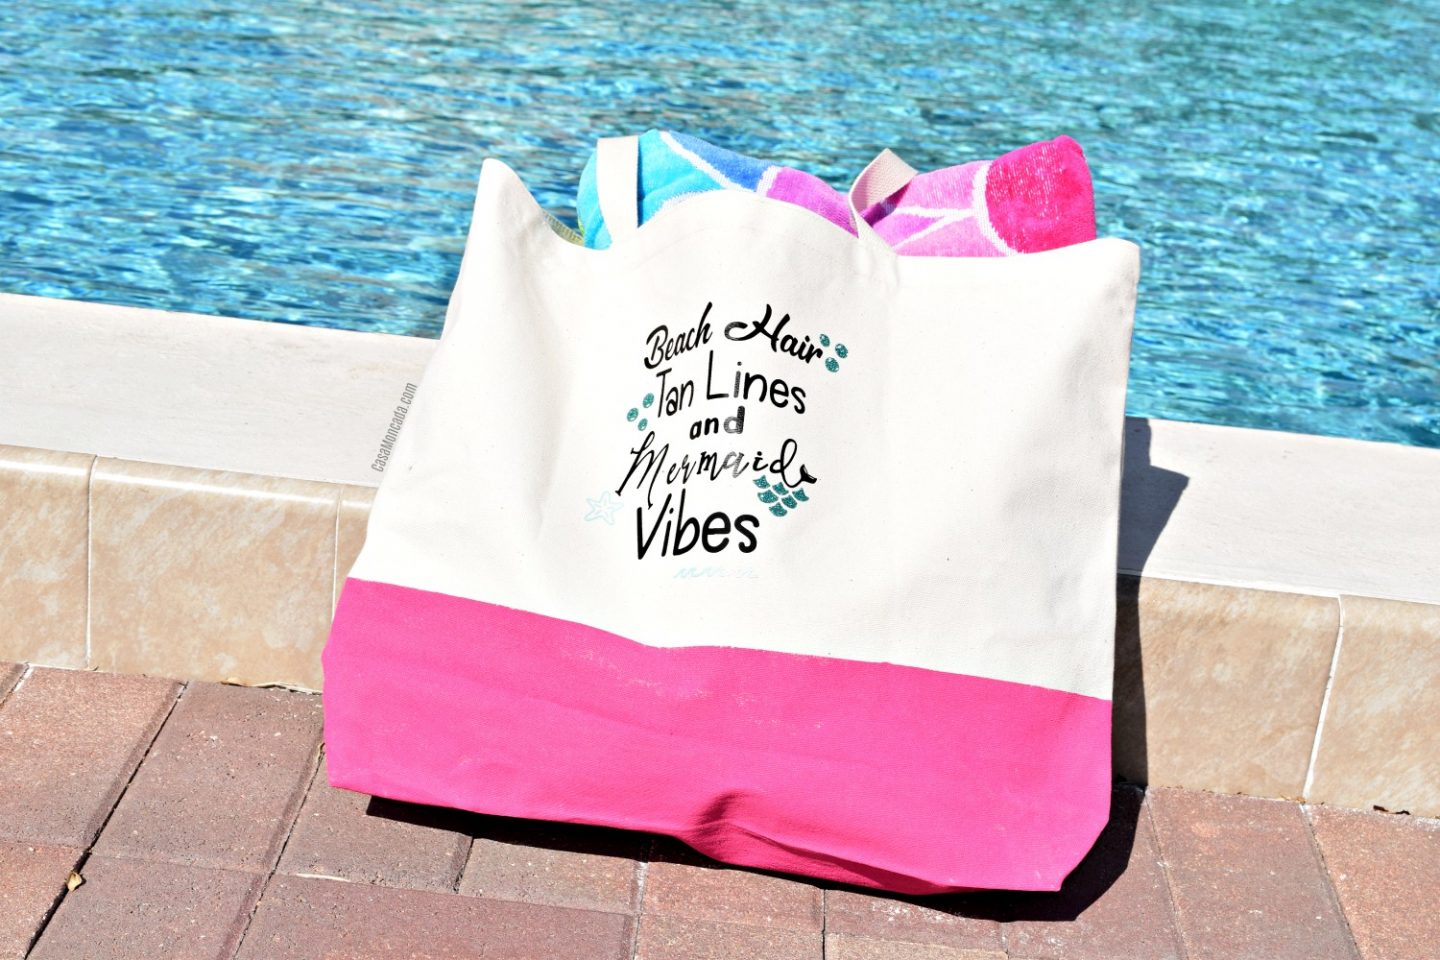
Make this easy DIY Painted Summer Beach Bag using Silhouette Cameo and Heat Transfer Vinyl. Free SVG cut file included!

I’m bringing you another mermaid inspired DIY post. YAY! The weather here in Florida has been cooler than usual and I’ve been dreaming about going to the beach. While scrolling through Amazon – because Prime – I saw this blank beach size tote bag that I knew would be perfect for making a DIY Painted Summer Beach Bag. And since I love Mermaids, I knew it would be a big part of my inspiration. Post contains affiliate links. It just means I make a small commission if you make a purchase through any of my links. There is no additional cost for you.
The project is super easy and I even provide a FREE cut file so you can make your own! Switch up the colors – make it all black, make it Rose gold – whatever floats your boat. I personally use heat transfer material from Expressions Vinyl – love their weekly coupons! Save 15% off $40 or more purchase through 4/9/19 using Promo code – 15APRIL40.

DIY Painted Summer Beach Bag with Heat Transfer Vinyl
Supplies You’ll Need:
- Silhouette Cameo
- Heat Transfer Vinyl (in your choice of colors/style)
- Blank Reusable Canvas Tote (I got this canvas tote)
- Fabric paint
- Blue painter’s tape
- Free “Beach Hair, Tan Lines, and Mermaid Vibes” Cut File (subscribe to my newsletter to download, Personal use only)
- Cricut EasyPress, Iron, or HeatPress
Directions:
Step 1: Painting the bag will be the first part. Use the painter’s tape to mark the stripe on the bag. Using your color of choice, I used this pretty pink color, start painting the front of the bag. Follow the direction for drying time. Repeat process for the back.
Step 2: Open the free cut file in Silhouette Studio. If you are using multiple heat transfer vinyl, you will need to “ungroup” the file. Separate it by color. Arrange it on your screen so that when you send it to cut, it will cut in the correct color. Note, since you are using Heat transfer vinyl you will need to mirror your image (flip horizontally).
Step: 3: Once everything is mirrored, be sure that the vinyl is arranged properly. Set the material you will be cutting – Heat transfer – Matte or glitter – change it to whatever you are using. The auto-blade will set the cut settings for you.
Step 4: Once everything is done cutting, it is time to weed. Get your weeding tools out and start weeding the design. Once it is all weeded, arrange the design on your bag.
Step 5: Use the Cricut EasyPress or iron to press your design to the canvas bag. Be sure to press well. Peel the clear backing and enjoy your new custom beach bag!

The process is really easy once you get the hang of applying Heat Transfer Vinyl (HTV). The most important thing to remember is to mirror your image when you are using HTV.
The bag came in handy this week, I surprised the kids after school one day and told them we’re heading to the pool. Spring break last week did not have warm weather at all! It was too breezy to risk driving to the beach. The temperatures were not ideal for any water activities. When I saw the weather was nice one day – I told them that we’re having some pool time! They were excited and I was happy to relax on the lounge chairs.

The beach bag held my oversized Mermaid towel, flip flops, water bottle, snacks, my Amazon Kindle e-reader, and sunblock. I still had room to fit more if I wanted. Perfect for the pool or beach days! The pink stripe of color is my favorite part!
I’ve been really taking a turn with focusing on more DIY and crafts because it is truly what I love. You’ll be seeing more of those projects on the blog. I hope you’ll craft along with me!
Have you ever customized your beach bags?
