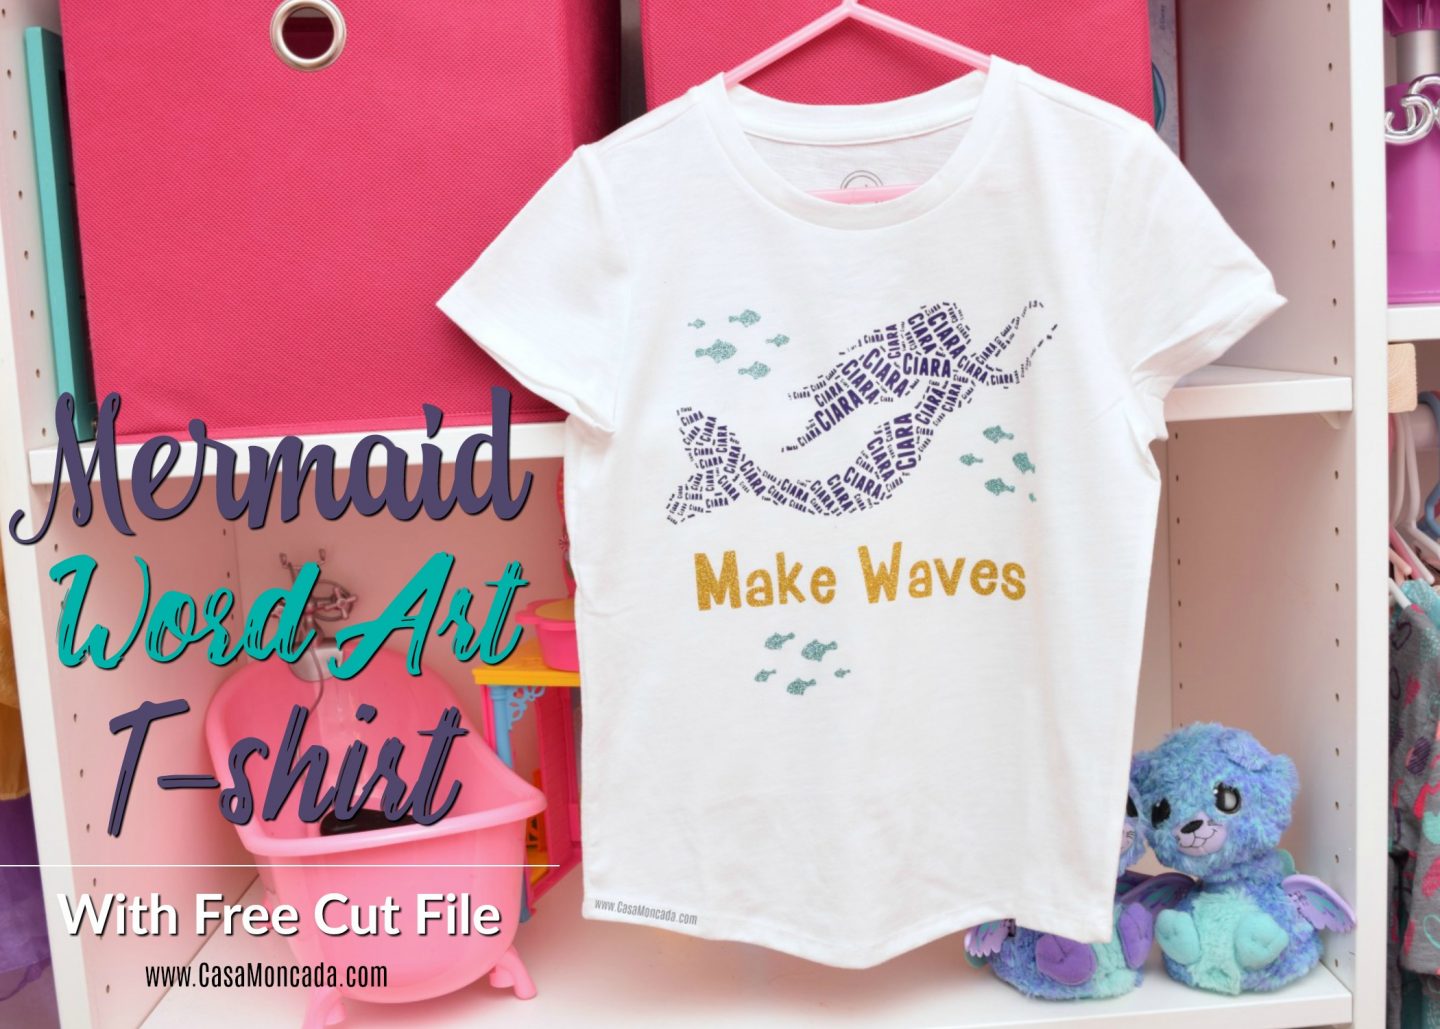
Learn how to make your own word art using Tagxedo and Silhouette Cameo. A free Mermaid cut file can be downloaded for your own project!

You guys know I’m slightly obsessed with mermaids. There is just something magical about mermaids. My daughter’s room is mermaid inspired and my desk has mermaid everything. Post contains affiliate links. It just means I make a small commission if you make a purchase through any of my links. There is no additional cost for you.
The Silhouette Cameo has really helped with my mermaid obsession and I’m not complaining! The machine allows me to create mermaid t-shirts, bags, and even artwork with ease. I love the word art designs that are all over the Internet so I decided to create my own. It really is easier than it sounds. No Photoshop or fancy program needed! Promise.
I’ll show you how to create your own word art t-shirt using Tagxedo and Silhouette Cameo but will also provide a FREE cut file for you to use on your own projects.
Mermaid Word Art T-Shirt using Tagxedo
Materials:
- Silhouette Cameo (Expressions Vinyl has a great Cameo 3 bundle)
- Heat Transfer Vinyl
- T-shirt (Got kid’s shirt at Walmart for less than $4)
- Weeding tools
- Easy Press, heat press or iron
- Word Art cut file (to gain access please subscribe to my newsletter – SVG and JPEG available, personal use only)
Instructions:
Step 1: Open Silhouette Studio. Open the Tagxedo Word Art file. Click on the trace feature and highlight the mermaid word art. Adjust the Threshold so that your words are clearly seen. I had mine set to about 82 percent.

Step 2: Select the trace design as well as the entire Word art – Click Object – Modify – Crop. Give it a few to work its magic. Once done you will be left with just the Mermaid word art portion. Next, group the design together so it moves as one piece.
Step 3: Size your image to what you need. If this is going on a child’s tee, be sure to adjust it so it fits properly.

Step 4: Since this will be on heat transfer vinyl, we need to mirror the image. Right click on your mouse select – Flip Horizontally.
Step 5: Change your material to heat transfer vinyl – smooth (if that is what you are using). If you have an autoblade it will adjust to the correct cut setting. Send to cut.

Step 6: Once the design has cut, it is time to weed! Some of the cuts are teeny tiny so be very careful! Some of the words may not be perfect or even legible but the majority of the design is perfect.


Step 7: Using your EasyPress, Heatpress, or iron carefully place your design on your shirt. Peel the backing and enjoy your shirt!

The possibilities are endless with Tagxedo! I love that any design can be customized with different words or phrases. The key is to find an image that isn’t intricate. When an image is uploaded to Tagxedo, you can adjust the threshold and blur. The application is pretty simple to use. Upload an image to Tagxedo – adjust the threshold and blue – add the words, names, or phrases you want – change the orientation, layout or theme. If you have any additional questions about Tagxedo, please leave a comment or shoot me an e-mail. I had to use Tagxedo on Internet Explorer for it to function.

I added some glitter fish with teal heat transfer glitter vinyl and added some text with gold heat transfer vinyl.
Get more heat transfer glitter vinyl right here!
Have you ever used Tagxedo or Word Art?

Files shared are personal use only, please do not sell my file or distribute to others. Do not sell any items with my files. Thank you.
Love love love! You make it look so easy, and also just increase my desire to get one of those awesome cutting machines. They are SO amazing these days!
Thank you so much! Yes, cutting machines are life changing! I use mine every single day. You will not regret it.